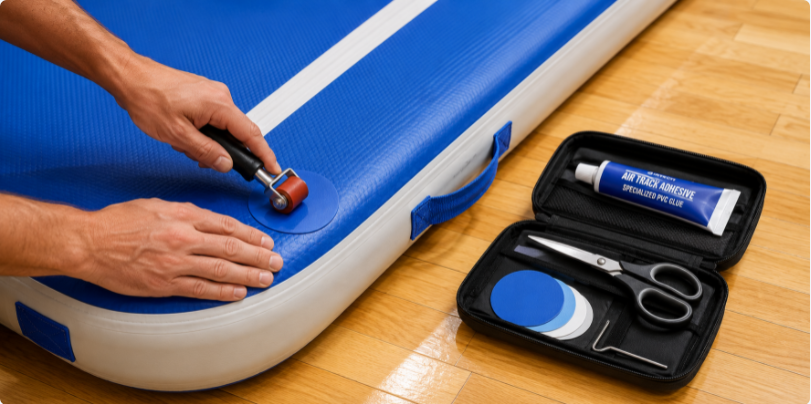
Finding a puncture in your favorite tumbling gear is always a frustrating moment. You’re in the middle of a session, you hear that telltale hiss, and suddenly the bounce feels flat. It’s tempting to just ignore it or grab some duct tape, but that is usually a recipe for disaster. If you let a small leak go, it isn't just an annoyance; it’s a safety risk and a drain on your wallet.
Luckily, an air track hole repair is a straightforward process that almost anyone can handle with a bit of patience. By learning how to properly repair air track mat surfaces, you can breathe new life into your equipment without having to wait for a replacement. Before we dive into the fix, it’s worth remembering that a little bit of air track maintenance goes a long way in preventing these headaches from happening in the first place.
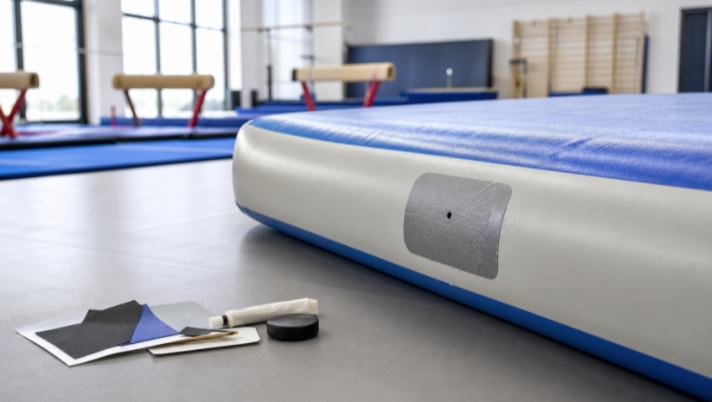
Think of your mat like a giant, pressurized balloon. When you put a tiny pinhole in it, the internal pressure starts working against you.
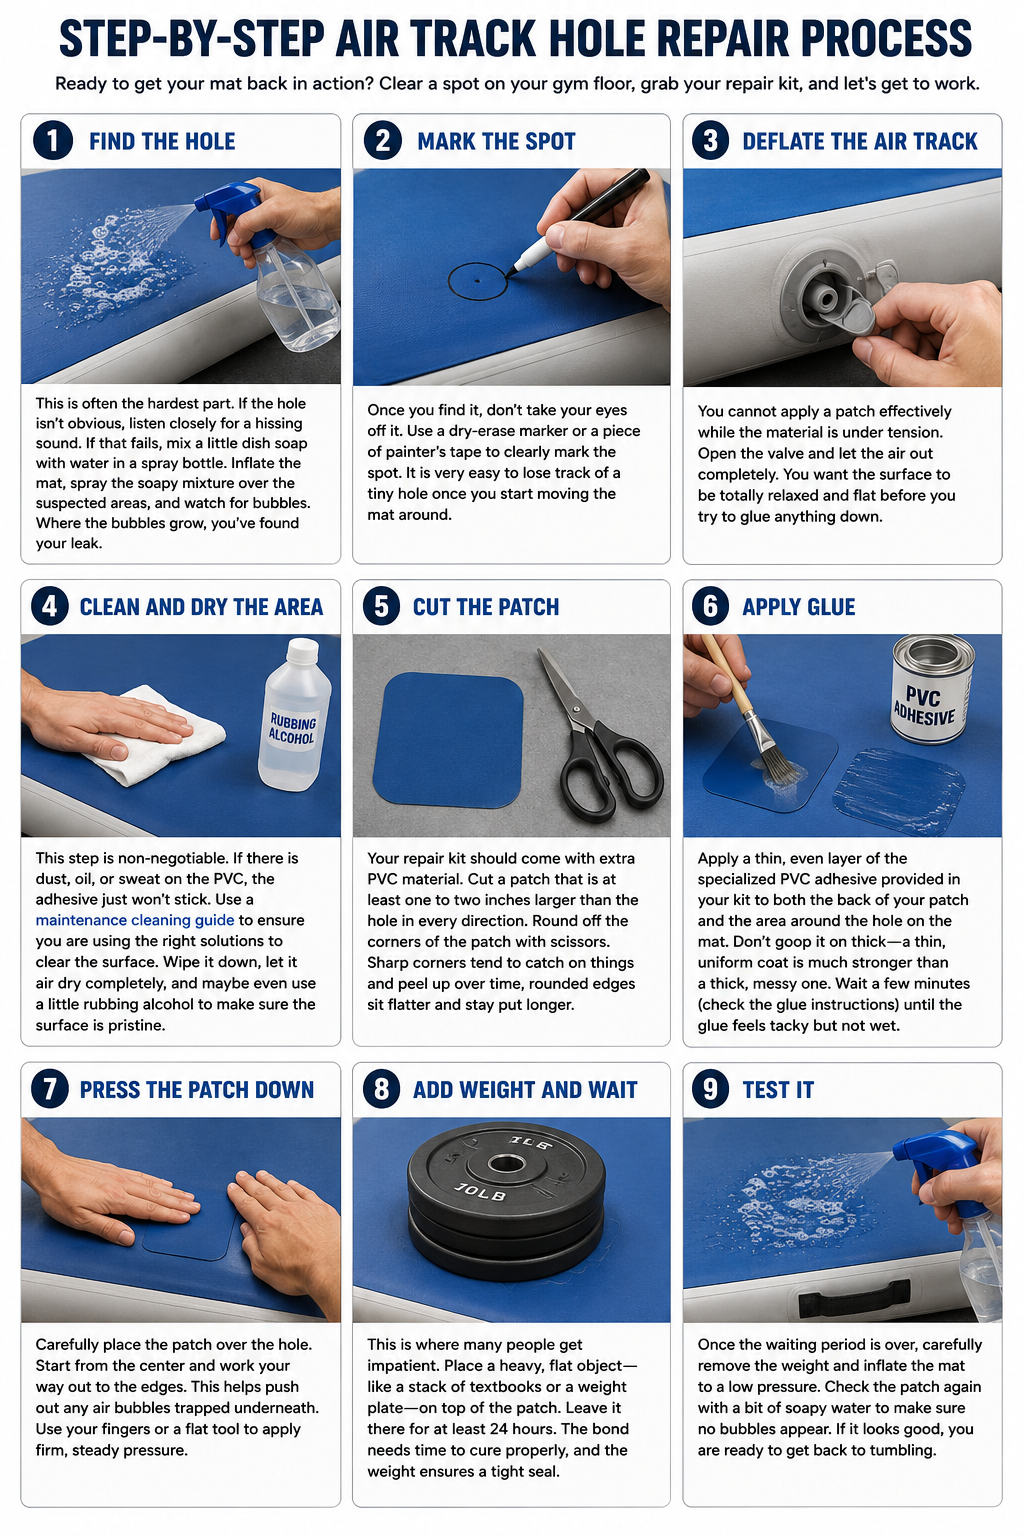
Ready to get your mat back in action? Clear a spot on your gym floor, grab your repair kit, and let's get to work.
This is often the hardest part. If the hole isn't obvious, listen closely for a hissing sound. If that fails, mix a little dish soap with water in a spray bottle. Inflate the mat, spray the soapy mixture over the suspected areas, and watch for bubbles. Where the bubbles grow, you’ve found your leak.
Once you find it, don’t take your eyes off it. Use a dry-erase marker or a piece of painter's tape to clearly mark the spot. It is very easy to lose track of a tiny hole once you start moving the mat around.
You cannot apply a patch effectively while the material is under tension. Open the valve and let the air out completely. You want the surface to be totally relaxed and flat before you try to glue anything down.
This step is non-negotiable. If there is dust, oil, or sweat on the PVC, the adhesive just won't stick. Use a maintenance cleaning guide to ensure you are using the right solutions to clear the surface. Wipe it down, let it air dry completely, and maybe even use a little rubbing alcohol to make sure the surface is pristine.
Your repair kit should come with extra PVC material. Cut a patch that is at least one to two inches larger than the hole in every direction. Round off the corners of the patch with scissors. Sharp corners tend to catch on things and peel up over time; rounded edges sit flatter and stay put longer.
Apply a thin, even layer of the specialized PVC adhesive provided in your kit to both the back of your patch and the area around the hole on the mat. Don't goop it on thick—a thin, uniform coat is much stronger than a thick, messy one. Wait a few minutes (check the glue instructions) until the glue feels tacky but not wet.
Carefully place the patch over the hole. Start from the center and work your way out to the edges. This helps push out any air bubbles trapped underneath. Use your fingers or a flat tool to apply firm, steady pressure.
This is where many people get impatient. Place a heavy, flat object—like a stack of textbooks or a weight plate—on top of the patch. Leave it there for at least 24 hours. The bond needs time to cure properly, and the weight ensures a tight seal.
Once the waiting period is over, carefully remove the weight and inflate the mat to a low pressure. Check the patch again with a bit of soapy water to make sure no bubbles appear. If it looks good, you are ready to get back to tumbling.
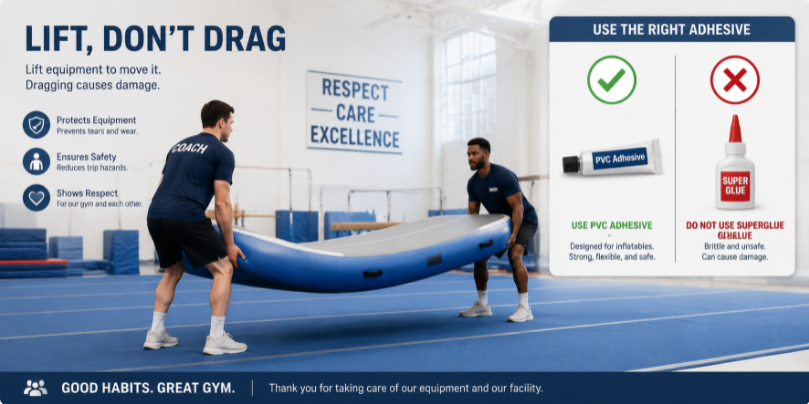
Fixing a hole in an inflatable gymnastics mat repair situation might seem like a chore, but it’s a vital skill for anyone managing a training space. Once you have a few successful patches under your belt, the task feels less like a burden and more like simple equipment upkeep.
Remember, these mats are designed to be durable, but they aren't invincible. The time you spend on a proper repair today saves you from the frustration of a flat mat tomorrow. For more guidance on keeping your gear in top shape, don't forget to keep your user manual handy. It’s the ultimate resource for ensuring your inflatables stay safe, high-performing, and ready for every training session.
No. Duct tape is a temporary fix that will lose its stickiness quickly, especially when the mat is under high pressure. It can also leave a nasty, sticky residue that makes applying a proper permanent patch later much harder.
You can use a small amount of acetone or a dedicated PVC cleaner. Be very careful—test a tiny, hidden spot on the mat first to make sure it doesn't discolor or damage the fabric.
Seam repairs are trickier. If the hole is right on the corner or where two pieces meet, you might need a larger, reinforced patch that wraps around the edge. If the leak is a long seam separation, that is a situation where you might want to talk to a professional repair service.
You can patch a mat multiple times, provided the holes are small and spaced out. If you find yourself patching the same area over and over, the material might be reaching the end of its life, or you might need a larger structural patch.
Yes! A well-applied PVC patch is intended to be a permanent part of the mat. If you follow the steps—especially the cleaning and the 24-hour cure time—that patch will likely last as long as the rest of the mat.


