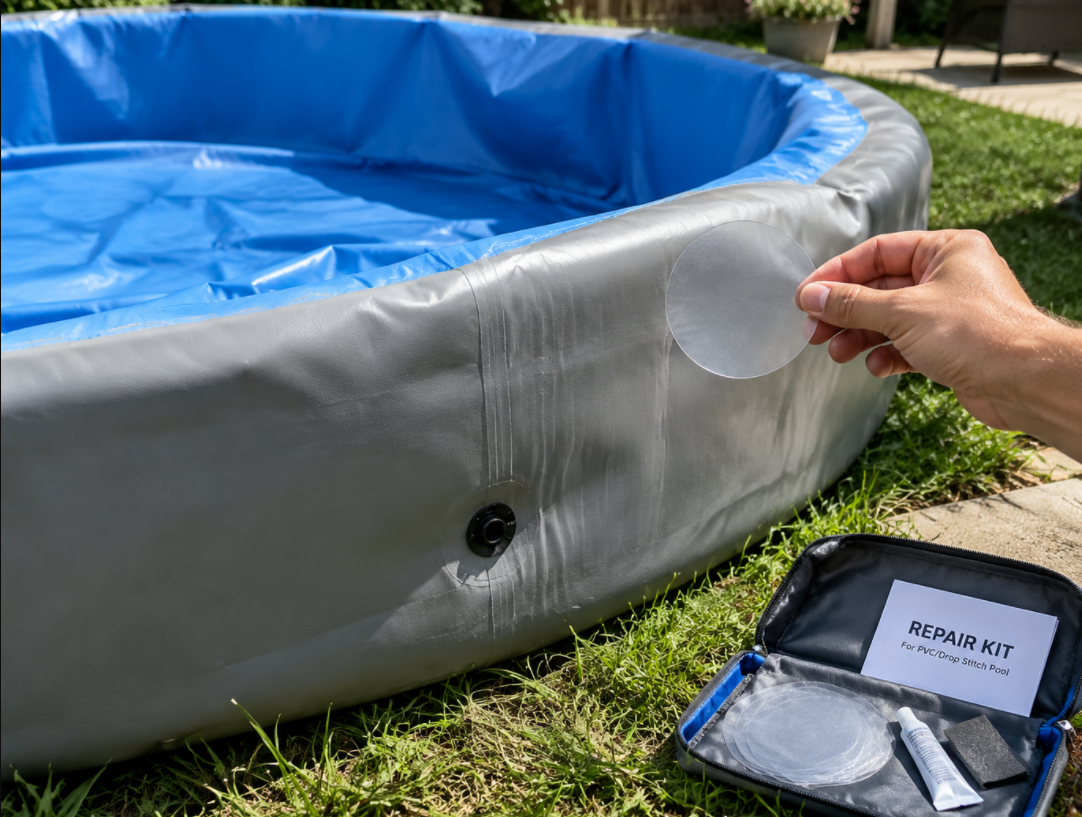
A leaking pool produces more support email than any other problem, and it produces the fastest refund request. A buyer sees the water level drop and assumes the pool is finished. Most of the time it is not.
Air loss on a drop stitch pool comes from three places: the valve, a seam, or a puncture in the fabric. Two of those three are a bench job with the repair kit that already ships in the box. The third needs to be identified early, because a seam that has started to lift is a warranty conversation, not a patch job.
This is the process our own after-sales team walks buyers through. You will find out where the air is going, patch it so the repair holds, and know what to check each season so you are not doing this again next summer.
Do not patch a guess. A patch that lands next to the damaged spot does nothing except add a second job later, and a patch that lands on the wrong material has to be removed before the real repair can start.
The method is a pressure decay test, and it works on any size of pool because it never asks you to lift the pool or submerge it. Inflate to the working pressure on your spec sheet. Read the gauge and write the number down with the time. Leave the pool for 24 hours and read it again at the same hour of the day.
Air pressure moves with temperature, so a reading taken in the cool morning and one taken in the hot afternoon will differ even on a perfect pool. Comparing the same hour on two consecutive days removes most of that noise. A small movement is normal. A steady drop that repeats is a leak, and now you know the size of it.
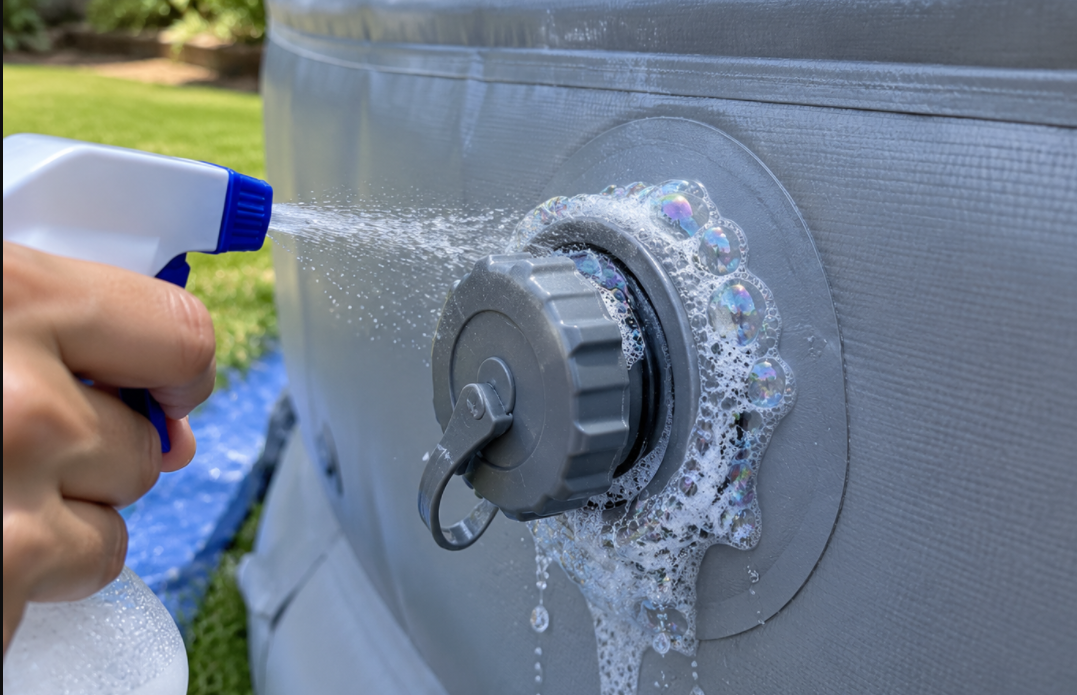
Then narrow the location with soapy water. Mix a few drops of dish soap into a spray bottle of water. Coat the valve, the base rail, both wall seams, and the floor, and watch for bubbles that grow. On a large pool, work in sections and mark each spot you have checked with chalk so you do not cover the same ground twice.
| What you see | Where to look first | What fixes it | Time |
|---|---|---|---|
| Holds water, loses air slowly over days | Valve body and valve seal | Tighten the valve, clean the seal, or fit a replacement valve | 5 to 10 min |
| Walls go soft within a day, no visible damage | Wall seams and the floor-to-wall join | Warranty claim. Glue does not hold a heat-welded seam | Claim, not a repair |
| Air escapes fast, hiss audible when you press the area | Wall fabric, base rail, under the floor | Patch with matching drop stitch material | 20 to 30 min plus cure |
| Water loss but the air holds | Drain valve, valve gasket, a hole below the waterline | Tighten or replace the valve gasket, or patch the fabric | 15 to 30 min |
Two of these four outcomes are a ten-minute fix. That matters when you are running a rental fleet and quoting a customer on the phone, and it matters even more when a retail buyer is deciding whether to ask for a refund.
The structure being patched is not a plain vinyl skin. If you want the background on why the fabric behaves the way it does, our breakdown of how the drop stitch core holds pressure covers the thread matrix and the seam load.
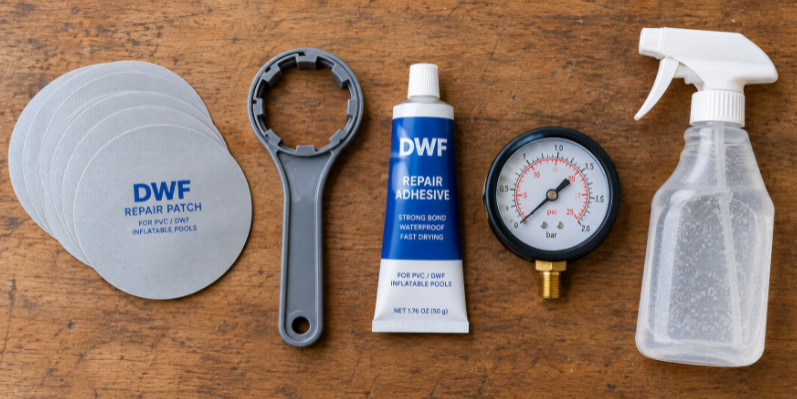
Every AfterSea pool ships with a repair kit, and the 6.6 to 20 ft commercial series adds a wrench on top of the standard kit. What is inside the box matters less than what your staff adds to it, because the repair happens at the site, not at the factory.
| Item | In the box | What it does |
|---|---|---|
| Matching DWF patch material | Yes, and each shipment carries extra patches | The only patch that bonds to a drop stitch surface. The fabric has to match, including the coating |
| Valve wrench | Yes on the 6.6 to 20 ft series | Tightens the valve body and removes it for a seal or core swap |
| High-pressure pump with gauge | Yes, with every pool | Inflates to working pressure and makes the 24-hour decay test possible. Without a gauge you are guessing |
| PVC adhesive rated for coated fabric | Supplied with the repair kit on most models | Bonds the patch. Any household glue is the wrong product for this fabric |
| Soapy water spray bottle | You supply | Locates the leak. Dish soap and water, nothing else added |
| Roller or smooth hand tool | You supply | Presses air out from under the patch. A rolling pin works |
| Soft chalk or a pencil | You supply | Marks the patch outline and the areas you have already tested |
If you are a retailer or a rental operator, build one spare parts box per site: half a dozen patches in two sizes, two spare valves, a tube of the correct adhesive, and a printed copy of the steps below. The whole box costs less than one returned pool.
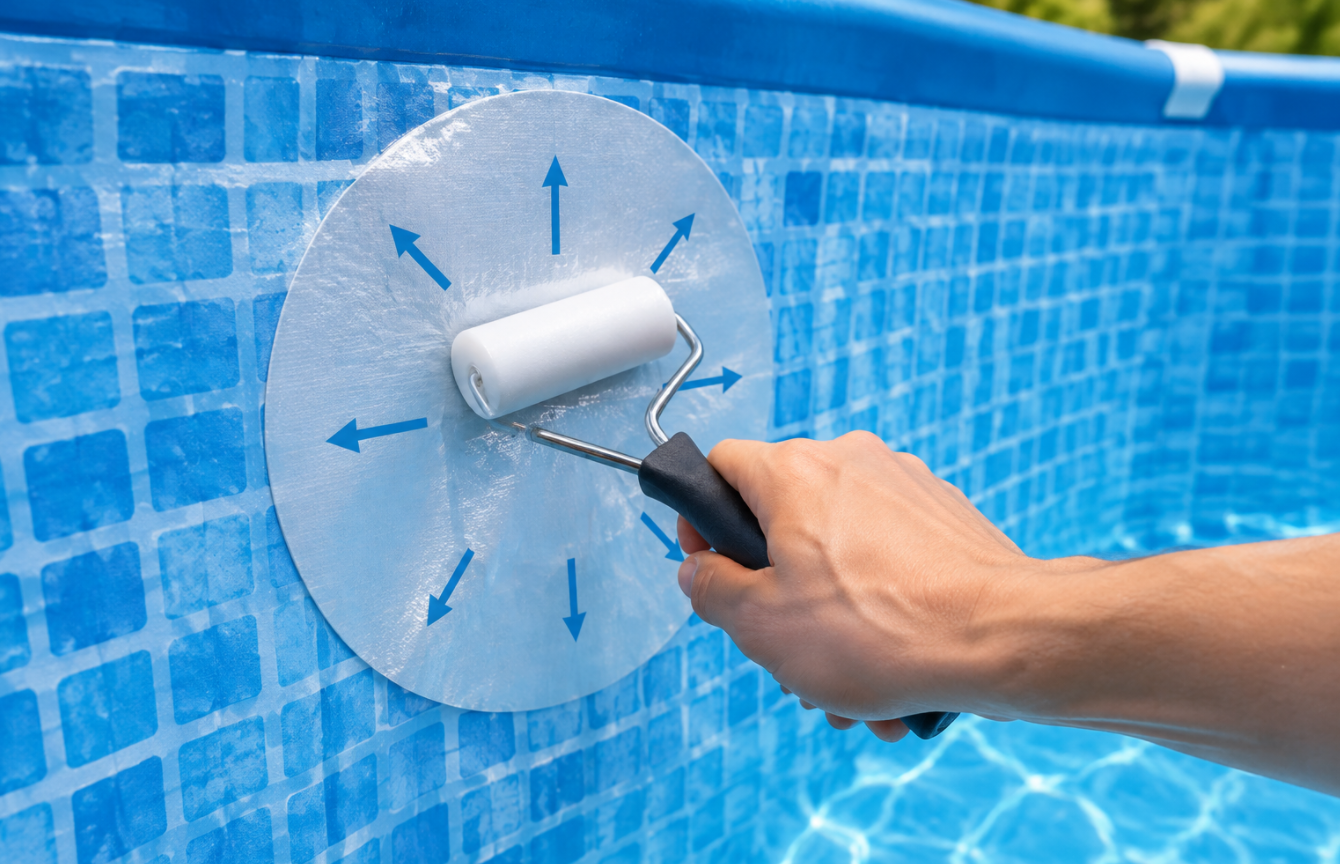
These are the steps we give our own service partners. The order matters more than the speed. Every short cut in this list shows up as a patch that peels within a month.
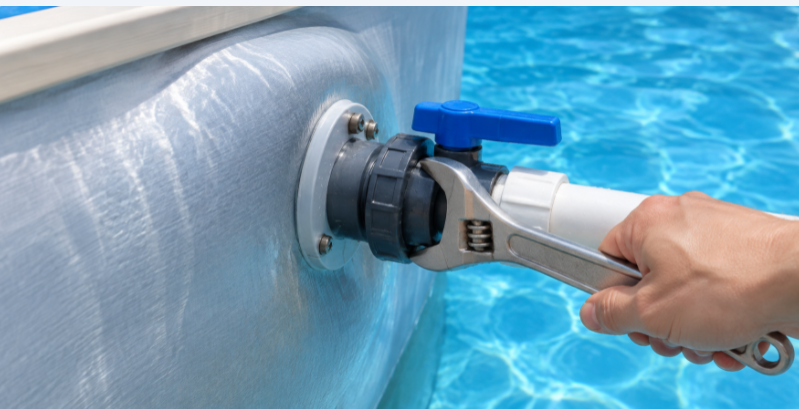
When a buyer says the pool will not hold air, the valve is the first place to look, and it is where the problem usually is. Grit, sand, and dried chlorine residue work into the seal. The pool then loses air overnight and gets blamed for a defect it does not have.
The order of work is short:
Rinse the valve area after every use and wipe it before storage. It is a ten-second habit that removes the most common aftersales complaint we see.
Each of these is a real repair attempt we have seen come back through a service partner. They are listed so you can stop a customer before they start.
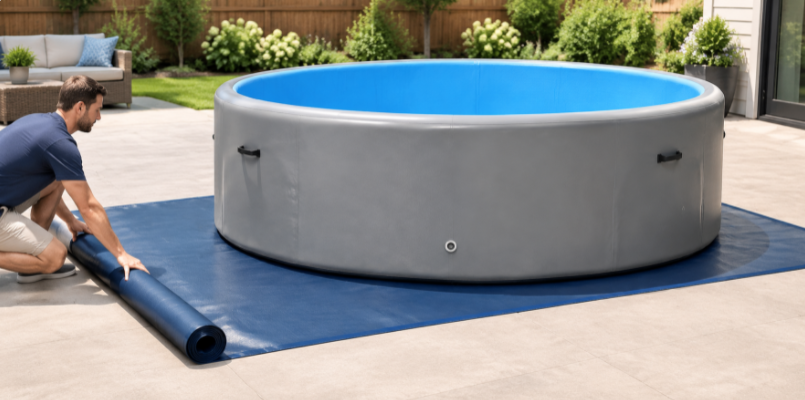
Repair is the recovery. Prevention is cheaper, and on a drop stitch pool the leak points cluster in a few predictable places. The base rail gets the reinforcement it does because that is where the load lands when someone climbs in and out.
| Zone | Why it fails | What prevents it |
|---|---|---|
| Valve | Grit in the seal, over-tightening, dried chlorine residue | Rinse after use, tighten by hand plus a quarter turn, cap it when idle |
| Base rail (the 1000D PVC rail layer) | Highest point load on the pool, abrasion from feet and shoes, grit on the rail | Use the steps, never stand on the rail with shoes, rinse grit off before it works into the surface |
| Floor, under the pool | Stones, glass, roots, and garden debris pressing up from below | A ground mat or heavy sheet under the whole footprint, swept before setup |
| Wall above the waterline | UV exposure, pet claws, metal toys, garden tools leaning against the wall | Cover when idle, keep sharp and metal toys out, keep tools away from the wall |
| Wall-to-floor seam | Over-inflation and heat cycling, which add load the joint was not sized for | Never top up to maximum pressure when the wall is hot, check the gauge when the weather swings |
| Storage fold lines | Creases set into the coating and crack in the same line every year | Dry fully before folding, fold loosely, change the fold line each season, store off bare concrete |
Run this once at the start of the season, before the pool is filled. It catches a slow leak while the pool is still empty and easy to work on.
A pool that is patched properly and checked once a season will keep going for years. If you are trying to decide whether a pool is worth repairing at all, our comparison of which pool type lasts longer sets out how the fabric and the seams hold up over time.
Every pool holds pressure before it is packed. Depending on the production line, that hold runs 48 to 72 hours, and each unit also goes through a multi-point air pressure check. The point of that test is to catch a factory defect before the pool reaches a customer. It is not a durability guarantee.
Our standard product warranty is a 1-year commercial guarantee. Inside that window, verified material anomalies and manufacturing defects are covered by free repairs or complete replacement units. On the commercial series, the same clause is written as replacement parts or credit compensation.
Read the boundary clearly, because it decides who pays for the repair:
That split is standard across the industry, and it is why we ship a repair kit and matching patches rather than a longer warranty. The kit handles the damage a buyer causes. The warranty handles the defects the factory causes. If a seam lifts by itself in the first season, photograph it, send the batch details, and stop patching, because a glue repair on a welded seam will not hold and it makes the claim harder to assess.
For a retailer or a rental business, a leak is an operating cost, not a crisis. The businesses that handle it well do three things: they keep spare parts on site, they inspect on a schedule, and they train one person to do the repair properly.
When you are comparing suppliers, four questions separate a partner from a box shipper:
A supplier who answers those in writing is set up to support a fleet. A supplier who answers with a warranty length alone is not.
Yes. The wall is a PVC-coated fabric, so a puncture patches the same way as on any inflatable, with one condition: the patch material has to match the hull fabric, including the coating. Each AfterSea shipment includes extra patches cut from the same material for this reason.
Start at the valve. Grit or dried chlorine residue in the seal causes most overnight air loss, and tightening or cleaning the valve fixes it in minutes. Spray soapy water around the valve while the pool is inflated and look for bubbles before you assume the wall has failed.
No. A standard vinyl patch will not bond reliably to a drop stitch surface. It may look attached for a few days and then peel, and the adhesive left behind makes the correct repair harder. Use matching drop stitch material.
Allow 24 hours at room temperature for the adhesive to cure. Then inflate in two stages, half pressure first, and test the patch edge with soapy water before going to full working pressure. Inflating a fresh patch is the most common reason a repair fails.
Not in the field. The seams on our pools are heat-welded and double-sealed, and an adhesive patch will not bond to a welded join the way it bonds to flat fabric. A seam that lifts on its own within the warranty window is a defect claim, so document it and contact the supplier rather than patching it.
Four habits cover most of it: put a mat under the whole footprint, keep grit off the base rail and the valve, never inflate past working pressure, and dry the pool fully before folding it away. Add the 10-minute pre-season pressure check and you will catch a slow leak while the pool is still empty.


